The V&A museum recently organised a talk about Madame Vionnet, and my tutor, Patrick, was invited to chat about her amazing bias cutting technique as well as an interpretation of our own bias/diagonal cutting technique. As part of the talk, we had to create a few garments to show the attendees and I was given the task to create the patterns and also to construct these half scaled pieces.
You may have heard me talking about diagonal cutting (or spiral cutting) in my other posts and seen the spiral trousers I made a while back (here). Essentially the technique is the same as normal bias cutting with the only exception that the grainline is cut and sewn along the selvage of the fabric. This gives the dress a form of stability when being sewn but the dress still drapes exactly like a bias dress.
The picture below shows the placement of the pattern to the selvage but the sharp-eyed among you may have noticed that the top portion of the dress (i.e. where the neck line is) is angled at 45 degrees.

This may seem confusing but if you extend the centre front line all the way down, you will notice that the placement is actually at a bias (45 degree). The seam lines are, however, placed parallel to the selvage and that is the beauty of this technique.
With an amazing silk chiffon print created by Natalie Gibson, I carefully proceeded to cut the fabric. Most of you may know that some silks are extremely difficult to work with as they are slippery and when cut wrongly, the seams bulge at all the wrong places. To prevent this, I place pattern paper onto the table, taped it to prevent any movement and slowly pinned the silk chiffon on the paper (making sure that the selvage lines up with the edge of the paper). The pattern was then pinned on top of the fabric and cut with a sharp rotary knife. I understand that some people even go as far as tracing the pattern out on a piece of paper and laying the uncut pattern on top of the fabric so it can be cut together with the fabric.
The next task was to sew the silk fabric. I have to admit that sewing fabrics like this always test my patience but a nifty trick is to sew the seam with a piece of thin paper underneath. This paper can be torn off after the stitch is done. This method stabilises the stitch and prevents the fabric from being stretch, leading to the notorious puckering seams.
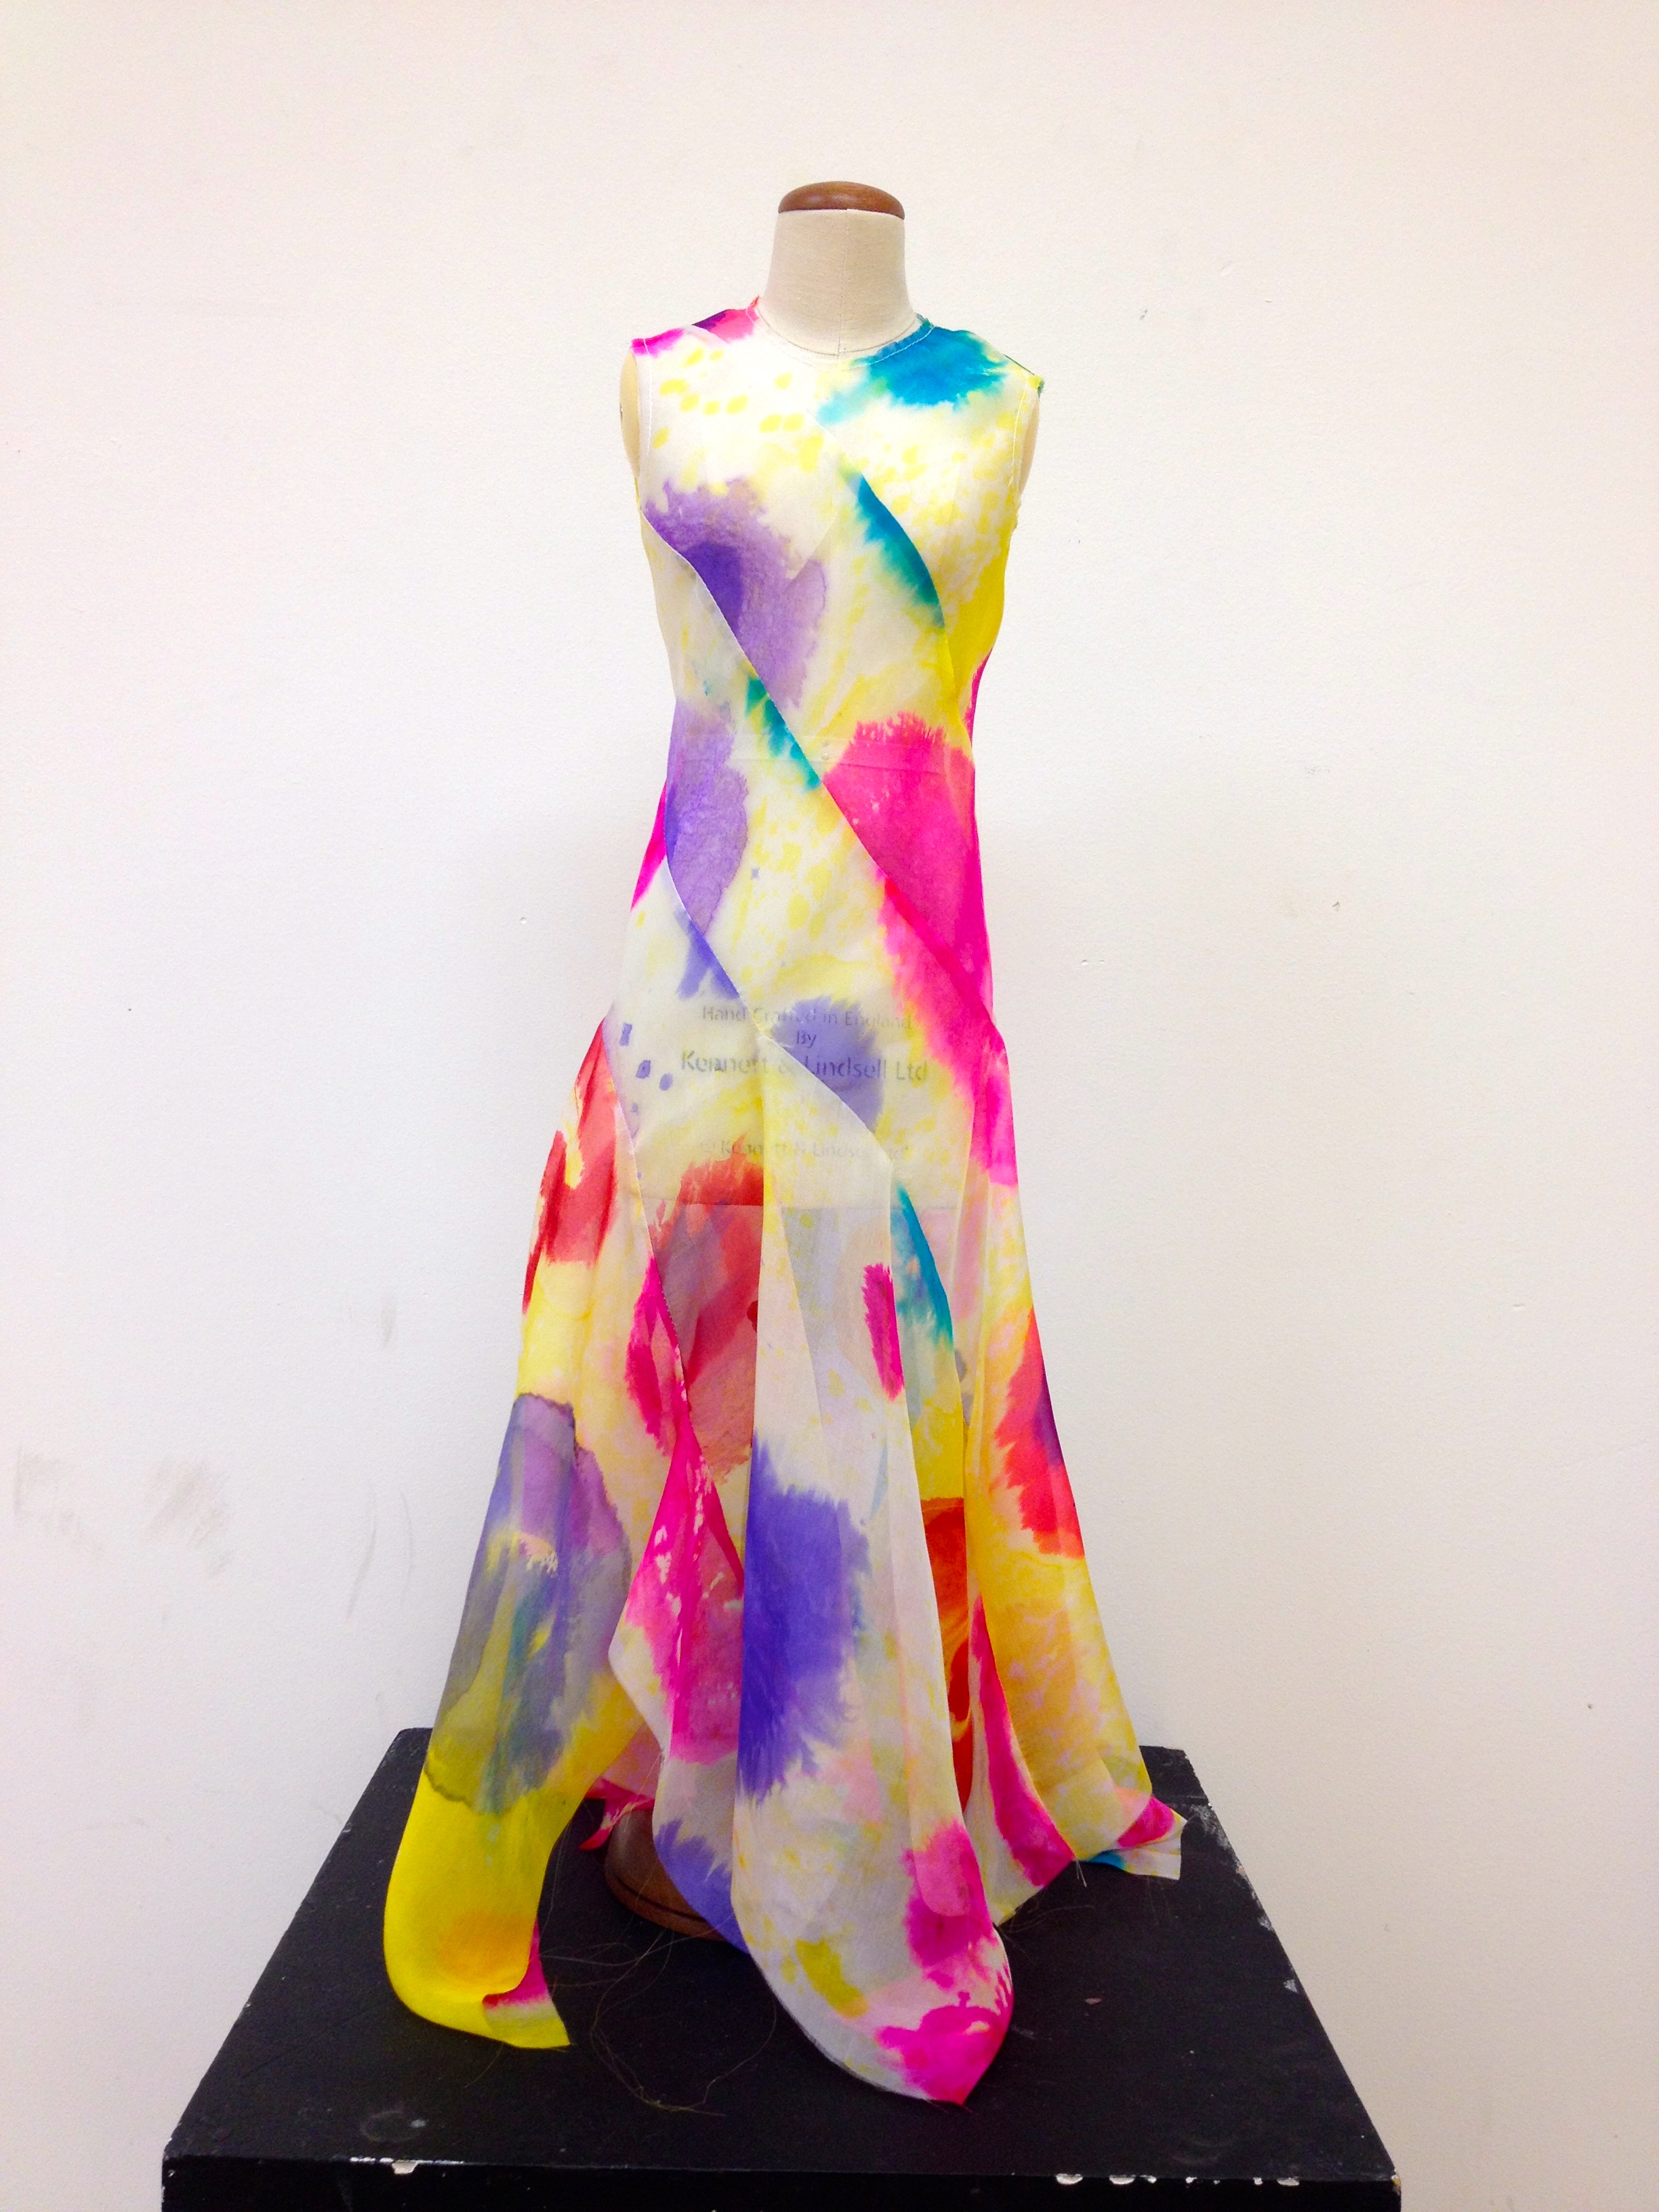
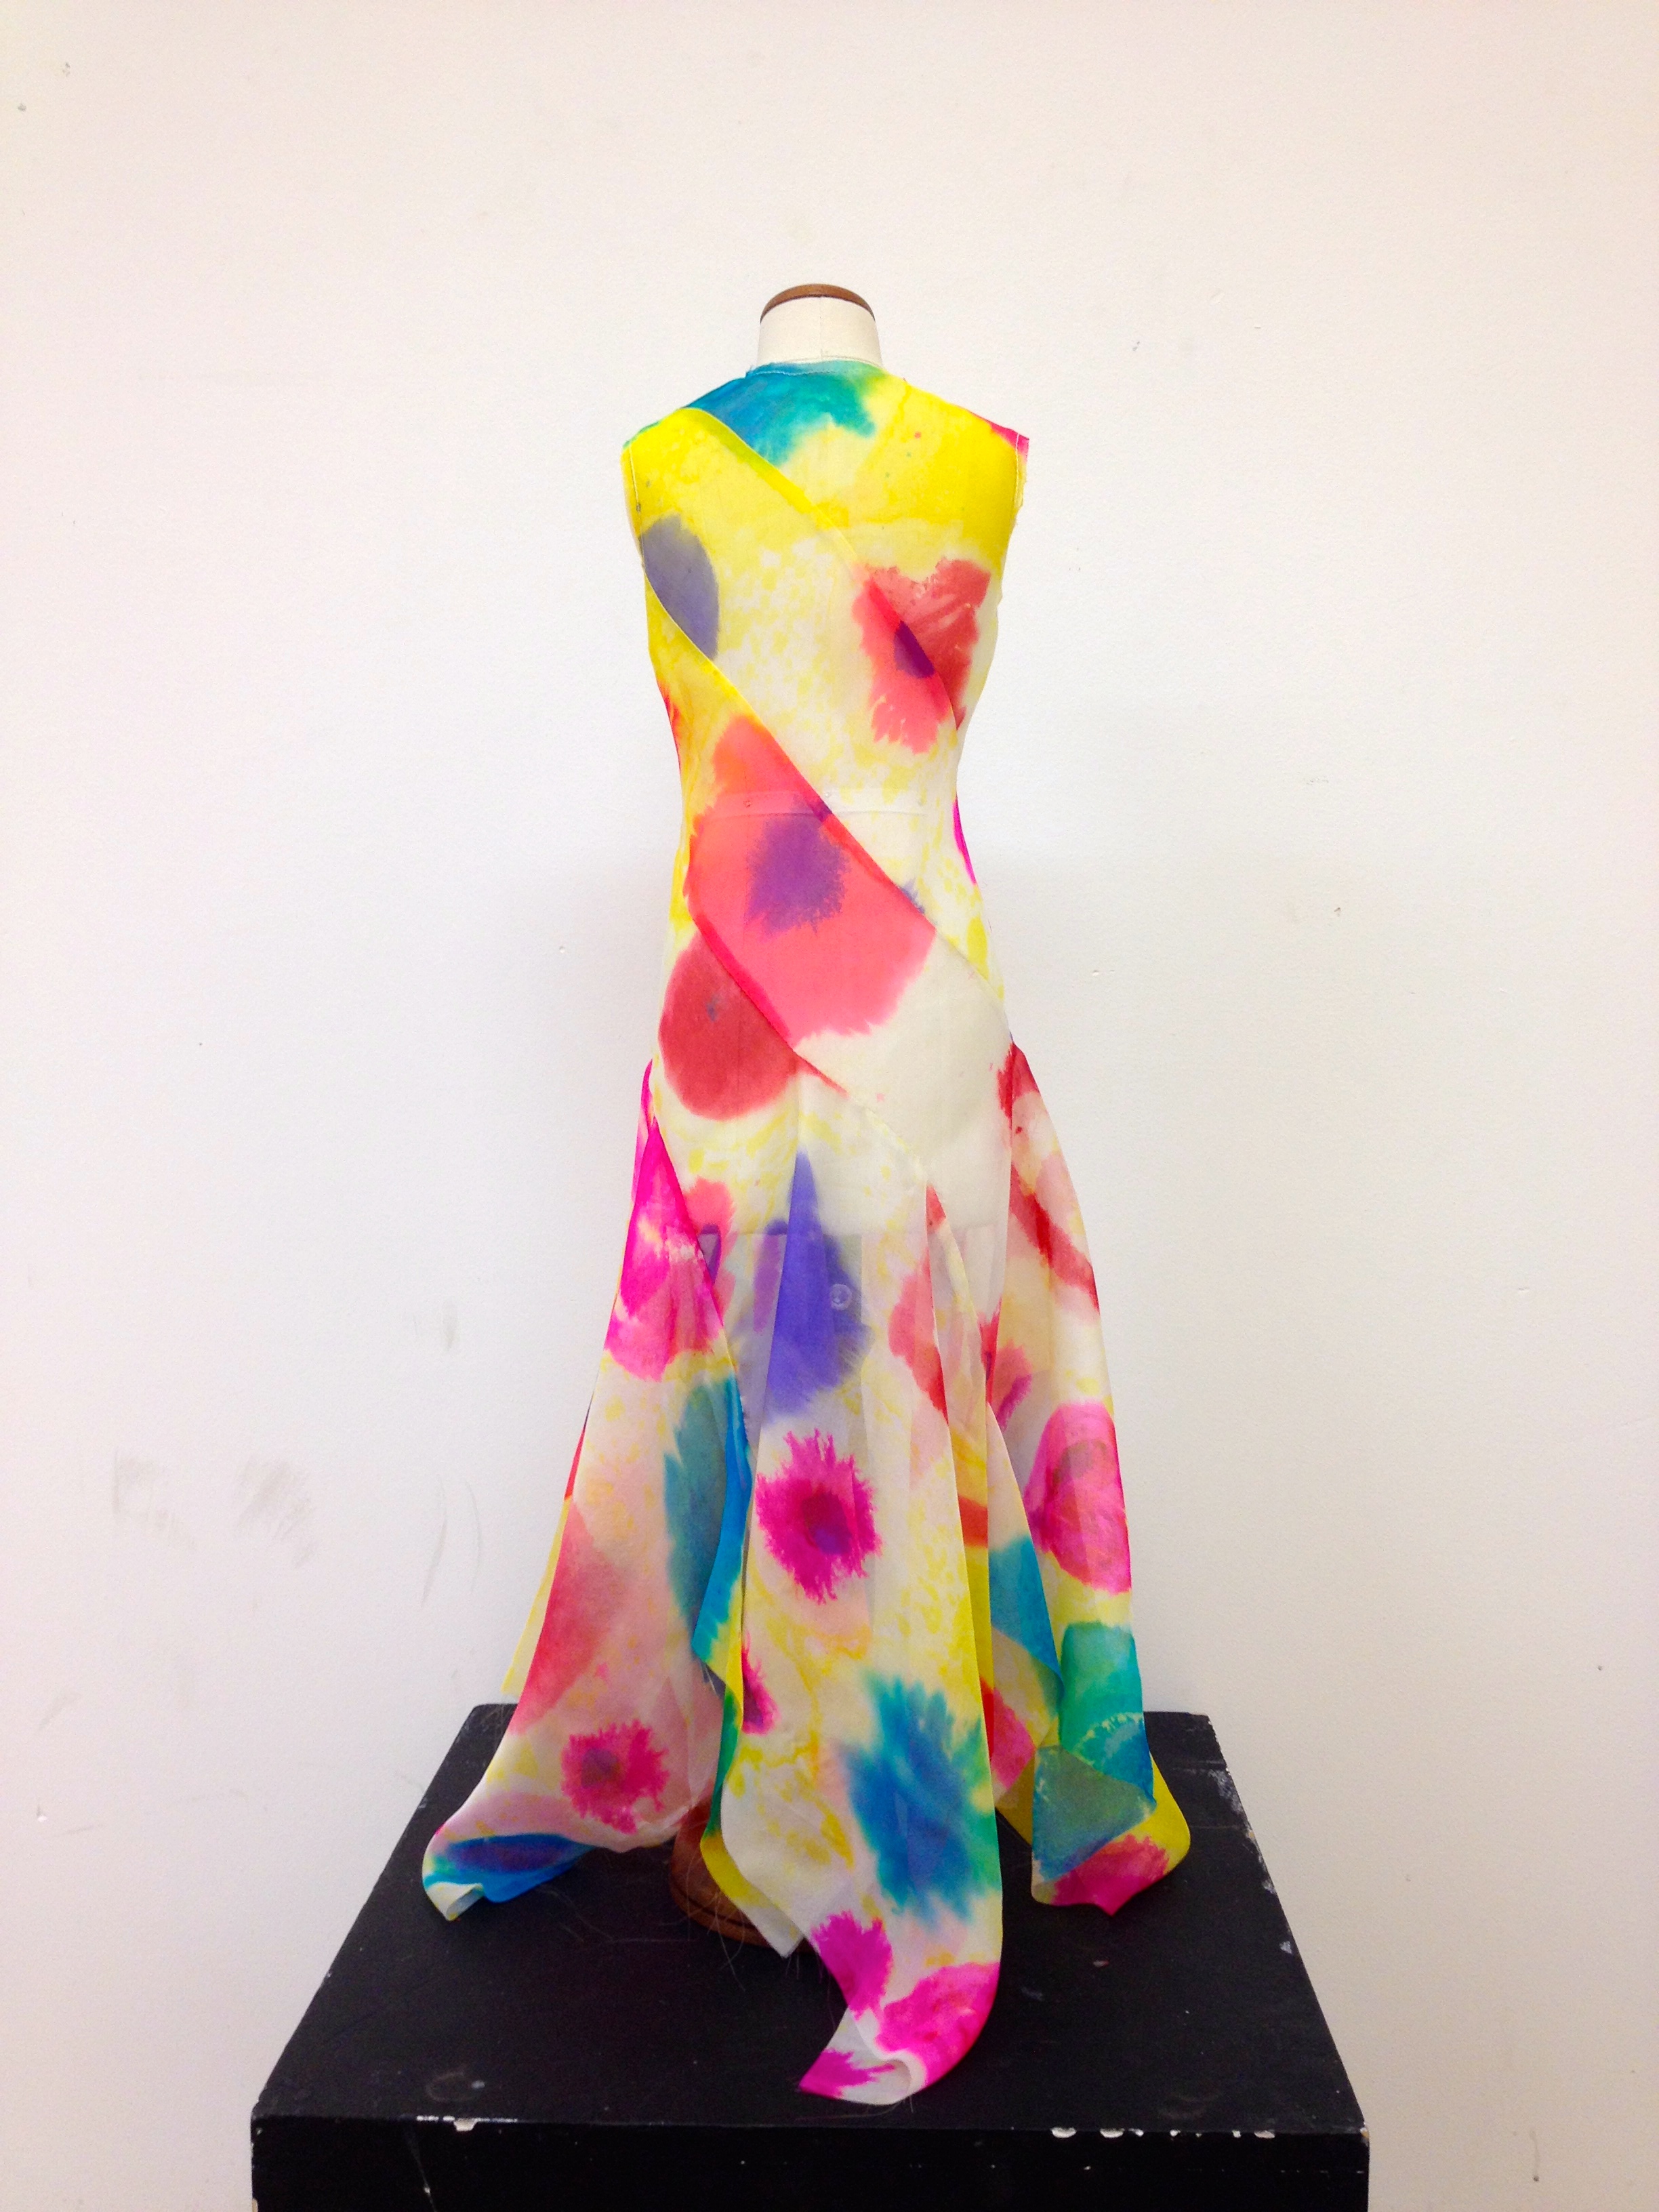
The final outcome is a very beautiful bias dress which flows around the body in a spiral. There are no darts or shaping to this dress as the bias dress naturally skims the body.
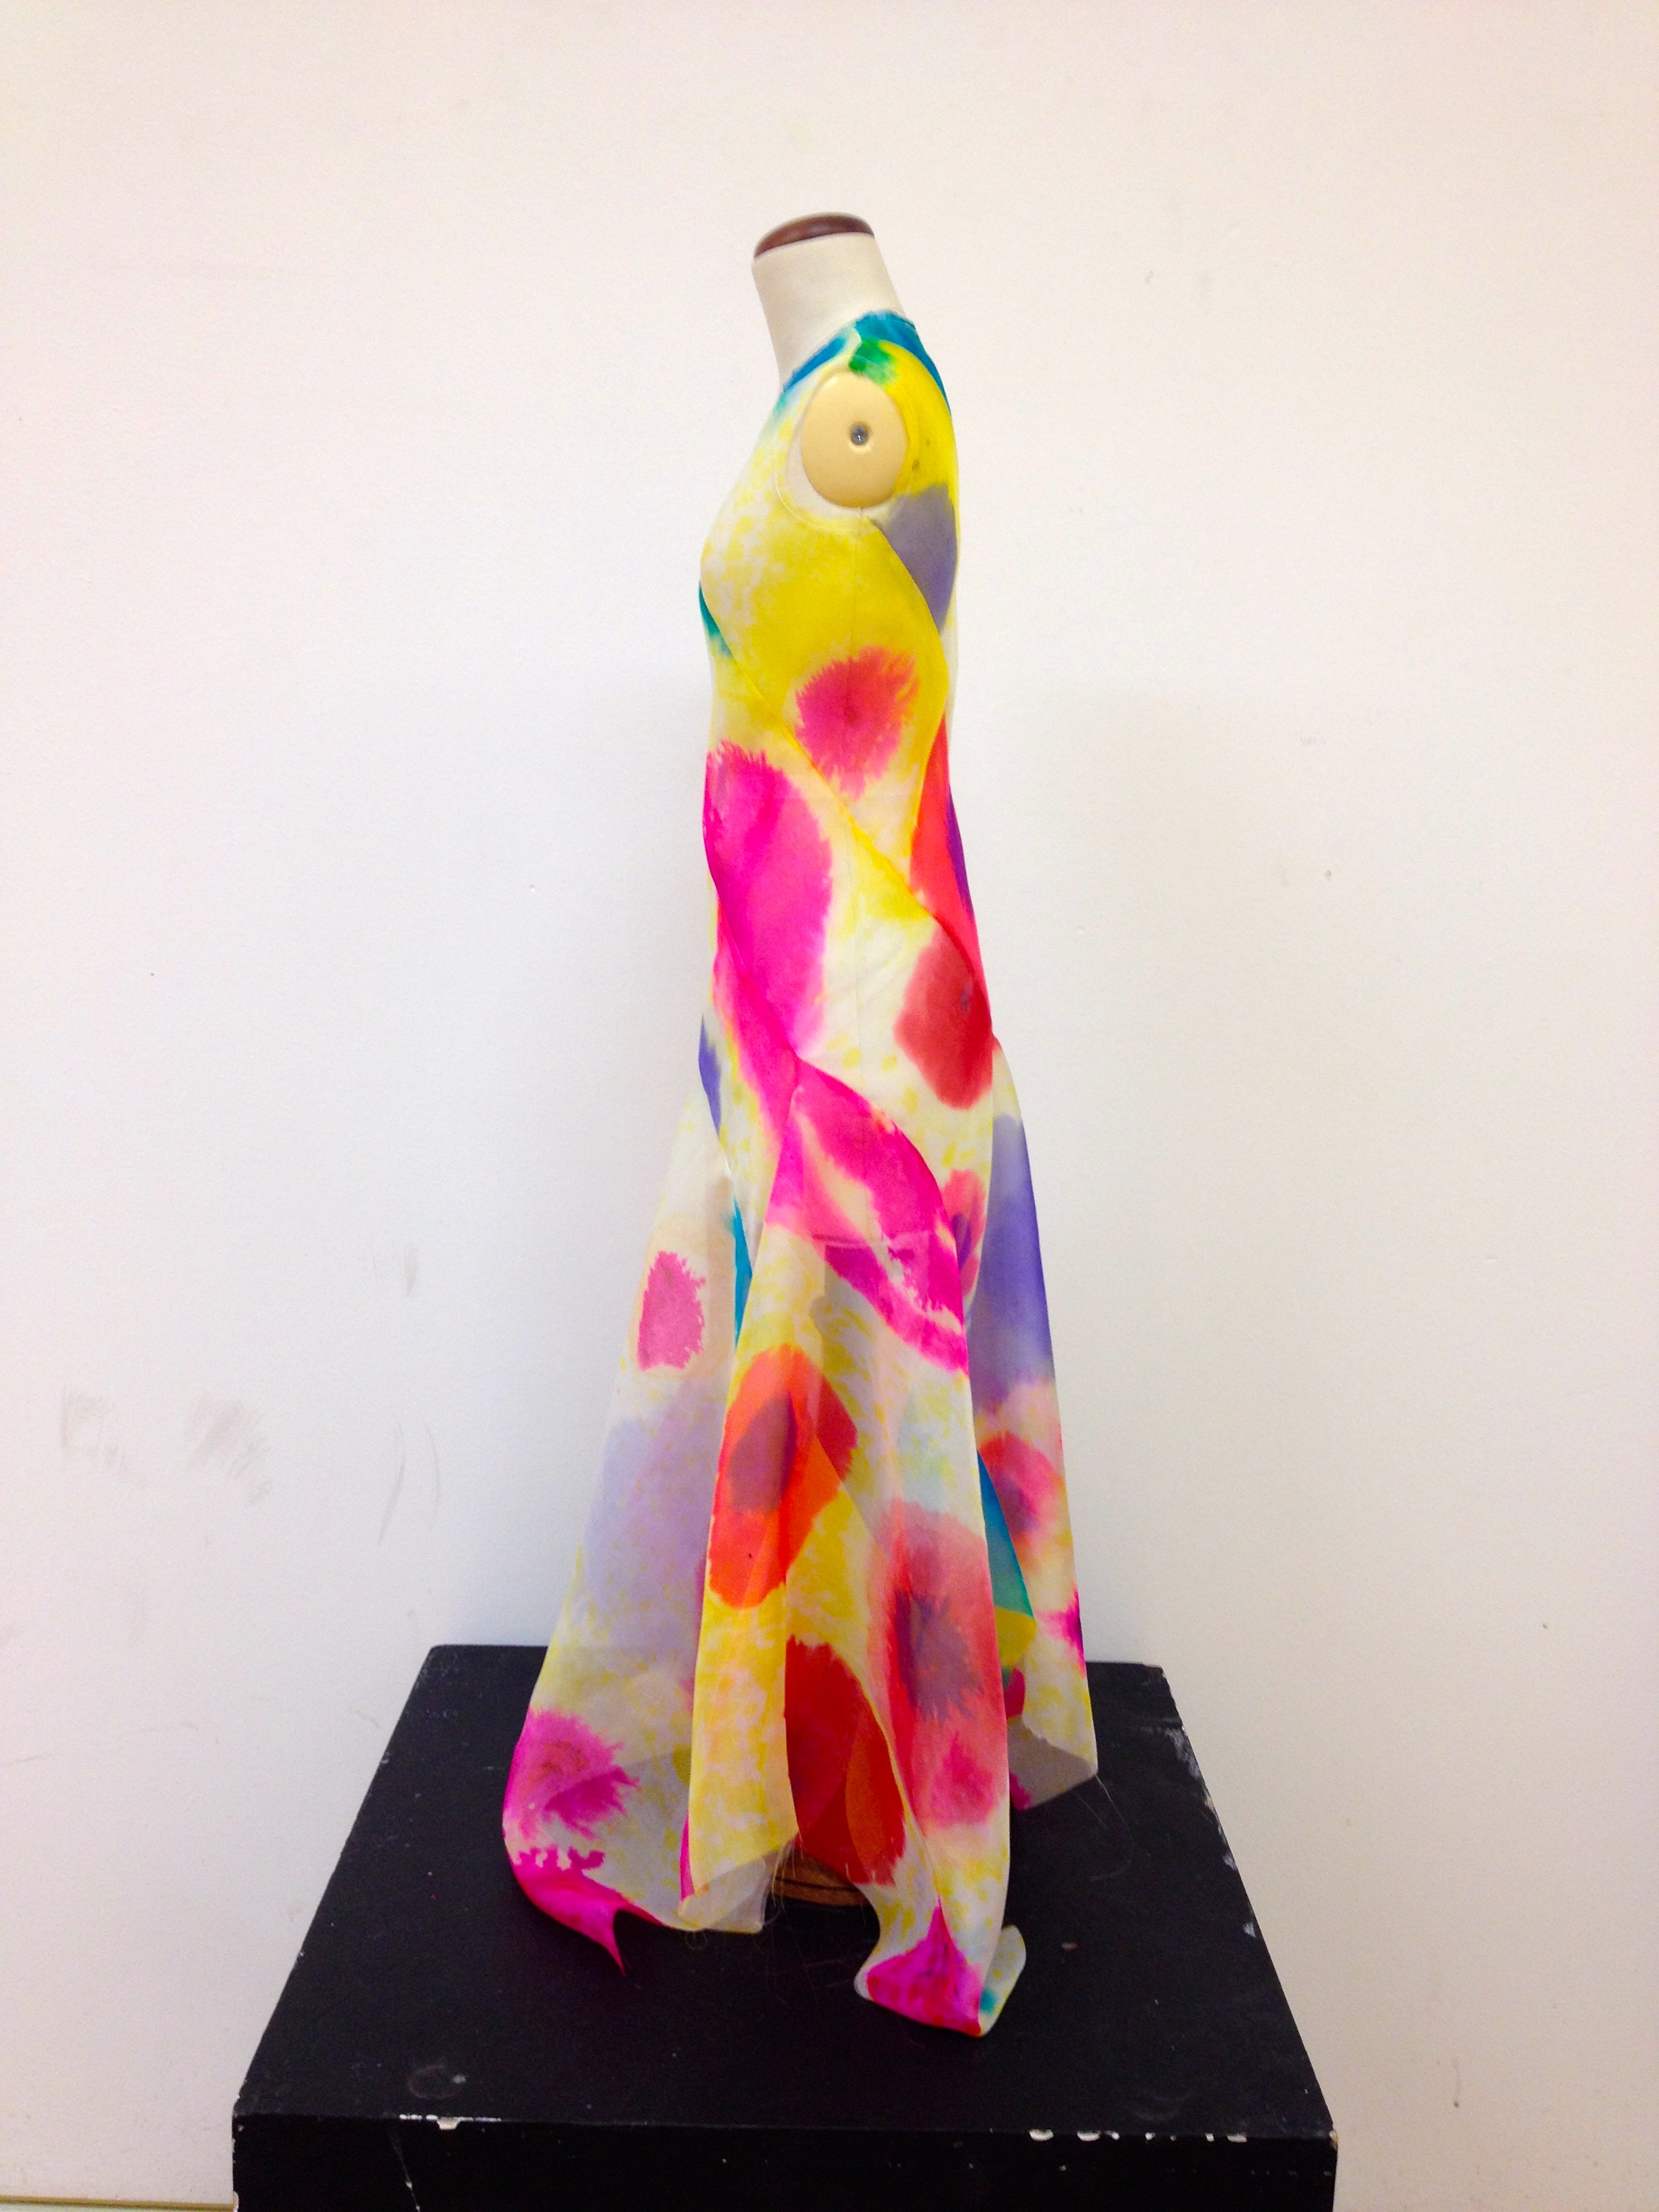
The lines become clearer as you see the dress in different directions.
The puzzle here is creating the flare on the bottom of the dress. If you have a look at the pattern again, you can see that the bottom portion is cut in the shape of a ‘U’. It might come to you once you have a think about it but the answer is on the pattern itself. It took me a while to understand it but once I found out the trick, I was slapping my head for not realising how simple it was.

Pingback: Roses are Red | Stephen Yong